When you notice water dripping from your ceiling, it can feel stressful and urgent. A leaking roof not only damages ceilings and walls but can also weaken your home’s foundation if ignored. The good news is that most minor leaks can be managed at home with the right tools and approach, even if you are just starting out. This beginner’s guide will walk you through the causes, steps, and safety tips for fixing a leaking roof at home.
Table Of Contents
- Common Causes of Roof Leaks
- Step 1: Find the Source of the Leak
- Step 2: Temporary Fixes to Control Damage
- Step 3: Repairing Shingles and Small Holes
- Step 4: Fixing Flashing and Roof Joints
- Step 5: Cleaning and Maintaining Gutters
- Step 6: Handling Larger Repairs
- Safety Tips for DIY Roof Repairs
- Preventing Roof Leaks in the Future
- Frequently Asked Questions
Common Causes of Roof Leaks
Roof leaks can happen for several reasons, and knowing the cause helps in choosing the right repair. Some of the most common reasons include:
- Missing or broken shingles caused by wind, storms, or age.
- Cracked or loose flashing around chimneys, skylights, or vents.
- Blocked gutters that cause water to pool and seep under the roof edge.
- Poorly sealed roof valleys or worn-out caulking.
- General roof aging where materials weaken over time.
Step 1: Find the Source of the Leak
Locating the actual entry point of water is often harder than spotting the ceiling stain. Water can travel along rafters before dripping down. Start by inspecting your attic with a flashlight for wet spots, stains, or mold. Trace the path of the water back to the roof. If possible, check during rainfall to pinpoint the drip more accurately.
Step 2: Temporary Fixes to Control Damage
If you cannot repair the leak immediately, use temporary solutions to minimize interior damage. Place a bucket under the drip and use a small pinhole to relieve pressure if your ceiling starts to bulge. Cover the affected section of the roof with a heavy-duty tarp secured tightly with nails or boards to keep rain out until permanent repairs can be made.
Step 3: Repairing Shingles and Small Holes
If the leak is due to damaged shingles, you can replace or patch them. Carefully lift the surrounding shingles, remove the damaged one with a pry bar, and slide in a replacement. Nail it down and seal the edges with roofing cement. For minor cracks or holes, apply roofing sealant under the shingle and press it firmly back into place.
Step 4: Fixing Flashing and Roof Joints
Flashing around roof joints is one of the most vulnerable spots for leaks. Scrape away any old caulking and reseal with fresh roofing sealant. If flashing itself is damaged, pry it out and replace it with new metal pieces that slide under the shingles. Secure tightly and seal to ensure no gaps remain.
Step 5: Cleaning and Maintaining Gutters
Clogged gutters are a common but overlooked cause of roof leaks. Use gloves to clear leaves, dirt, and debris. Flush them with a garden hose to confirm proper drainage. Installing gutter guards can reduce buildup and protect your roofline from water backup.
Step 6: Handling Larger Repairs
If the damage is spread over a large area, you may need more than patching. Re-shingling a section or replacing underlayment might be necessary. If you find rotten decking or widespread water damage, it’s best to contact a licensed roofing contractor for a professional inspection and repair.
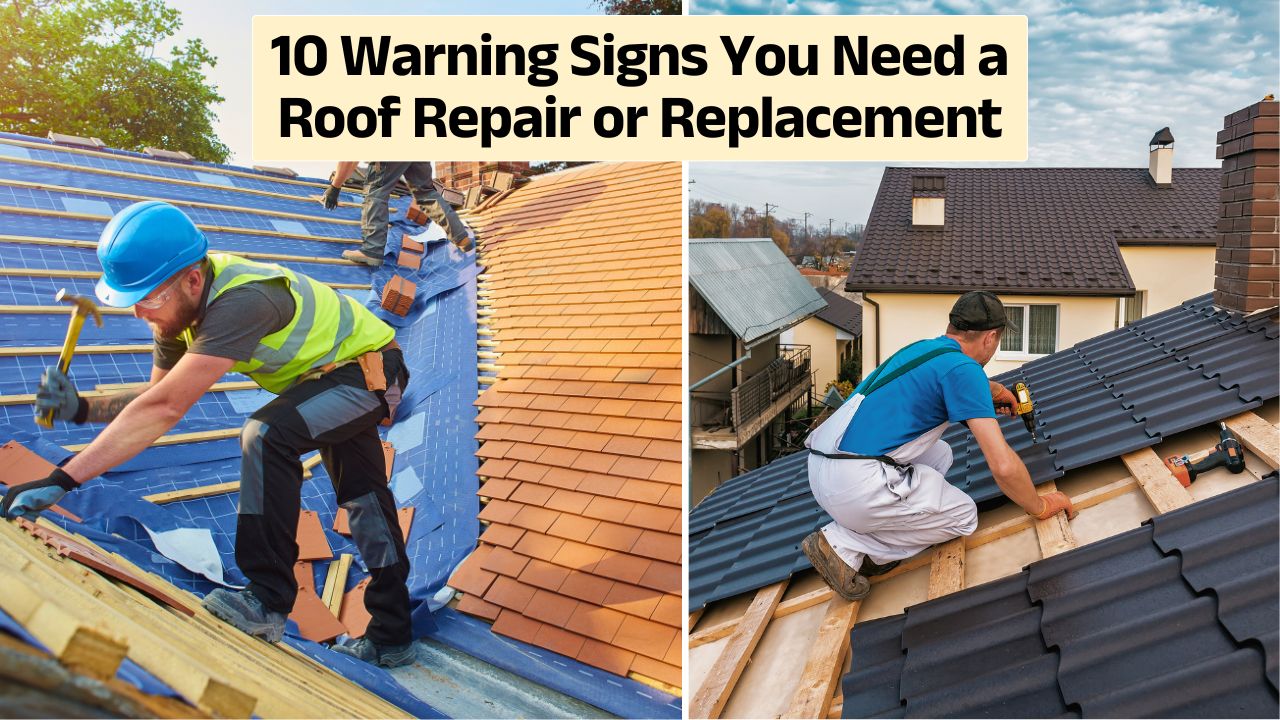
Also Read: 10 Warning Signs You Need a Roof Repair or Replacement – Expert Guide for Homeowners.
Safety Tips for DIY Roof Repairs
Always work on dry days when the roof surface is not slippery. Use a sturdy ladder with someone assisting you. Wear non-slip shoes and heavy-duty gloves. Avoid attempting large or dangerous repairs without prior experience, as safety should always come first.
Preventing Roof Leaks in the Future
Prevention saves both money and stress. Schedule roof inspections at least once a year, especially after storms. Keep trees trimmed so branches do not scrape shingles. Ensure your attic is well-ventilated and insulated to prevent moisture buildup. After heavy rain or winds, check for missing shingles or loose flashing.
For more detailed advice, you can check resources like Family Handyman’s roof repair guide or This Old House’s roofing maintenance tips.
Fixing a leaking roof at home may seem intimidating at first, but with careful inspection and the right method, most small leaks can be handled by homeowners. By acting quickly, you prevent further damage and protect the integrity of your home. For bigger jobs, don’t hesitate to call a roofing expert for help.
Frequently Asked Questions
What is the fastest temporary fix for a roof leak?
The quickest way to stop a roof leak temporarily is to cover the affected area with a heavy-duty tarp. Inside the house, place a bucket under the drip and release ceiling pressure if bulging occurs. This prevents further damage until a permanent repair is made.
Can beginners fix roof leaks on their own?
Yes, small leaks caused by missing shingles, cracked flashing, or minor holes can often be fixed by beginners with basic tools like roofing cement, sealant, and replacement shingles. Larger leaks or structural damage should be handled by a professional roofer.
How do I know if my roof leak is serious?
If you see multiple leaks, sagging ceilings, or fast-spreading stains, the problem may be structural. Wet insulation or rotting wood in the attic also indicate a serious issue that requires professional repair.
What tools are needed to repair a leaking roof at home?
Essential tools include a ladder, pry bar, hammer, roofing nails, roofing cement, caulk gun, sealant, replacement shingles, gloves, and non-slip shoes. A utility knife and safety harness are recommended for extra safety.
How often should I inspect my roof to avoid leaks?
It is best to inspect your roof once a year and after major storms. Regular checks help catch issues early, such as loose shingles, cracked flashing, or clogged gutters, preventing small problems from turning into costly leaks.